Support
Here you can watch a number of videos explaining how RouteLogic works. After watching the videos, do you still have questions or can't find your answer? Then let us know here!
How do I create a route?
- In the left-hand menu, click on "routes".
- Click the button on the right in the "new route" screen.
- Click on the date in the calendar.
- Select the vehicles you want to create a route with.
- Select the assignments you want to create a route with.
- Click the green "calculate route" button.
- The route is ready. Adjust the route as you wish.
- Don't forget to click recalculate if you make any changes.
- The route is automatically saved and can be found under "routes".
Want to know more? Watch the video! ?
How do I add commands manually?
- In the left-hand menu, click on "assignments".
- Then click on the "new assignment" button.
- Fill in the order information.
- Email address is required for the track-and-trace code.
- Want to send a text message as notification? Then enter phone number.
- Click "save order" for a single order.
Want to know more? Watch the video! ?
How do I import jobs via Excel and how do I link to my CRM system using API?
- In the left-hand menu, click on "commands".
- Click on the "import" button.
- Download the sample file that is ready.
- Fill in the sample file.
- Leave each line with associated column names!
- Start with your assignment type in line two.
- Fill in all fields per column horizontally.
- Drag and drop the file into RouteLogic or upload from your computer.
- Your imported assignments are now listed under "assignments".
Want to know more? Watch the video! ?
How do I add users to RouteLogic?
- De routes voor de gebruikers staan klaar.
- Click on your name at the bottom left and go to "users".
- Click on the "new user" button.
- Enter the e-mail address of the new user.
- Click on the "save user" button.
- The user will receive an email to verify the account.
- In the form, the user creates a password.
- Click "save" and the account is created.
- The new user can log in via app.routelogic.io.
- The routes for the users are ready.
Want to know more? Watch the video! ?
How do I add a vehicle?
- In the left-hand menu, click on "vehicles".
- Click on the "new vehicle" button.
- Enter the registration number and description.
- Indicate the available capacity of the vehicle.
- And finally the start and end address.
- Then click on "save vehicle".
- Your vehicle is now available under "vehicles".
Want to know more? Watch the video! ?
How do I set up and adjust a track-and-trace notification?
- Click on your name at the bottom left and go to "notifications".
- Notifications are set by default.
- Customise the text to your liking and use the tags.
- The start templates apply when the driver starts the route.
- The other templates are sent when the route is completed.
- Click on "save notification".
Want to know more? Watch the video! ?
How do I change my data and settings?
- Click on your name at the bottom left and go to "your details"
- Fill in the details in the form.
- You also fill in your loading and unloading times here.
- Pay close attention to the AVG settings.
- Turn on dynamic delivery times here as well.
- Click "save" and your settings are changed.
Want to know more? Watch the video! ?
How does the driver app work?
The 'RouteLogic Driver' app can be downloaded from the App Store and Google Play Store. Drivers can find all the routes on which they are scheduled after logging in here. In the RouteLogic Driver app, the driver finds all the assignments he or she may pass in the route. In addition to the address, each job shows the customer's contact details and any details. We also show what can be delivered or picked up at this address and at what time. The driver can easily navigate to the assignment's address by clicking the 'navigate' button. The advantage of using one of these apps is that we can accurately report the driver's location. This way, you can see exactly where the drivers are and we can update the predicted ETA more accurately. A web version of the app is also available. However, it does not transmit the location as accurately.

Working with Tags in assignments and vehicles
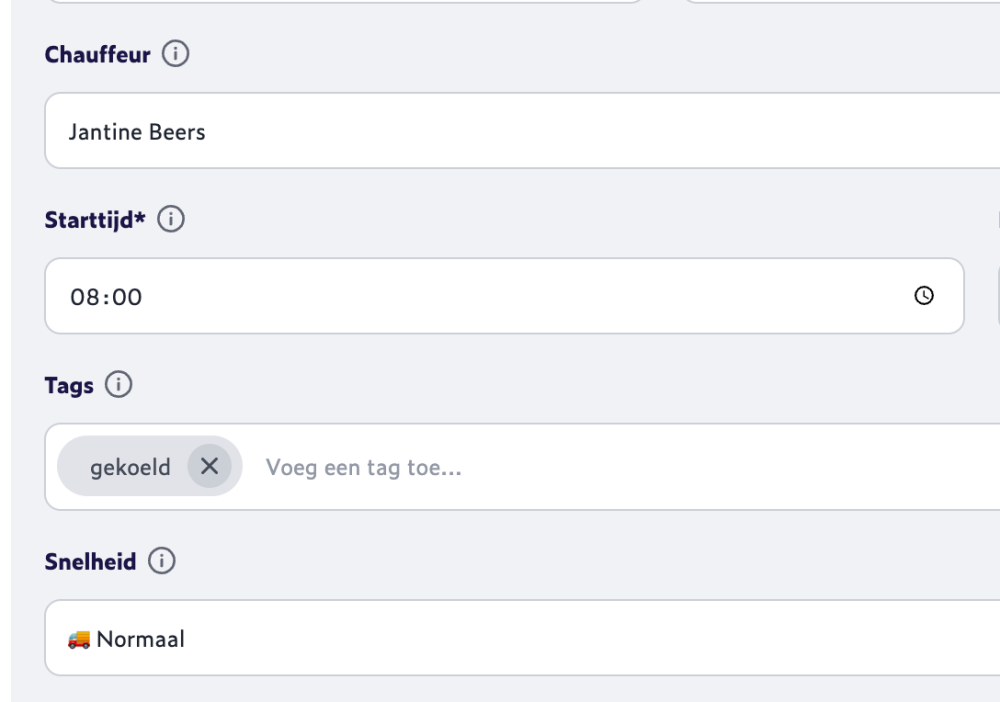
With tags, you can easily place assignments in a suitable vehicle. Add 1 or more tags to vehicles and all assignments that also have these tags will be placed in these vehicles.
Some possibilities (the tags are examples and can be defined by yourself):
- Assignments without a tag will be assigned to vehicles without a tag
- Assignments with the tag "refrigerated" will be assigned to vehicles with a tag "refrigerated"
- Assignments with the tag "refrigerated" will not be classified in vehicles with tags "refrigerated" + "truck"
- Assignments with tags "refrigerated" + "truck" will be classified into vehicles with tags "refrigerated" + "truck"
With tags, you can easily place certain jobs in vehicles suitable for them. You can also easily deliver jobs in a certain region this way (e.g. give the job and the vehicle the tag: region centre). If a task requires two people to complete it, you can easily arrange this with tags. You give all orders the tag "2 persons" and the corresponding vehicle this tag as well. RouteLogic automatically schedules all "2-person" assignments in vehicles that are suitable for this.